Setting gemstones can be a complex part of the jewelry-making process. So, if you want to set your sights higher and graduate from simple ring and pendant making to more difficult stone set designs, tube setting for stones is an excellent place to start. Here are 8 Easy Steps of Tube Settings For Stones.
A tube setting is an easy way of setting a gemstone, using a small amount of tube for the stone to rest in. As long as you use a suitably sized metal tube to set your gemstone that will fit and support it well, it will leave you with a clean, professional look – whether you’re creating a pendant or ring design.
Learn how to make tube settings for stones in our step-by-step guide below.
Tube Setting Faceted Stones: Step by Step
Tube setting tools you’ll need:
- Metal tube
- Gemstones
- Jeweller saw
- Set of needle files
- Ball burr/stone setting burr
- Pendant drill or drill press
- Burnisher
- Calipers
Top tip: Make sure that you choose the correct size metal tube for the gemstone you’ll be using. Ideally, you’ll want the tube’s outside diameter to be about 0.5mm wider than the gemstone itself. This will accommodate for the creation of the seat that the gemstone will sit in. Try to opt for a metal tube with a wall that is about 1mm thick too. This will make the use of the ball burr a lot easier, creating a neat seat for your gemstone to be placed into.
Step #1 Measure up!
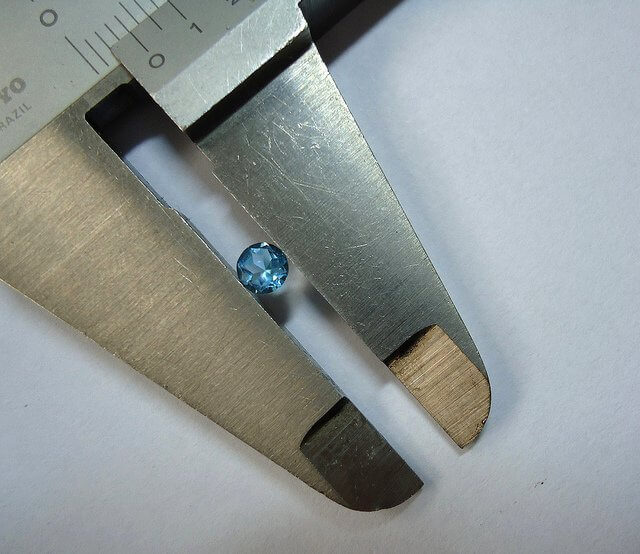
Measure the width (also known as the girdle) of your stone using your calipers.
Digital calipers can be handy to make sure you have as accurate a measurement as possible.
Whatever the width/girdle of your stone, add 0.5mm to that, and you’ll have the ideal width for the metal tube you’ll need to create your tube setting.
Now measure from the height of the stone (also known as the table).
Holding the girdle carefully between your thumb and index finger is to get an accurate read with your calipers.
Got your measurement? Now add another millimeter to that.
This will help you make sure you don’t cut too far into the tube when creating your gemstone seat.
Step #2 Mark your metal tube
Got your height measurement? Set your calipers at this number, not forgetting that additional millimeter!
Now your calipers are set to the correct depth; you can use them to score a mark all the way around your metal tube, making sure that you keep the calipers firmly in place.
This will give you a good guide so that you can cut your tube accurately.
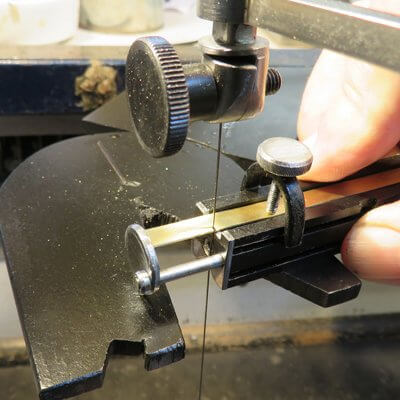
Step #3 Cut your tube to size
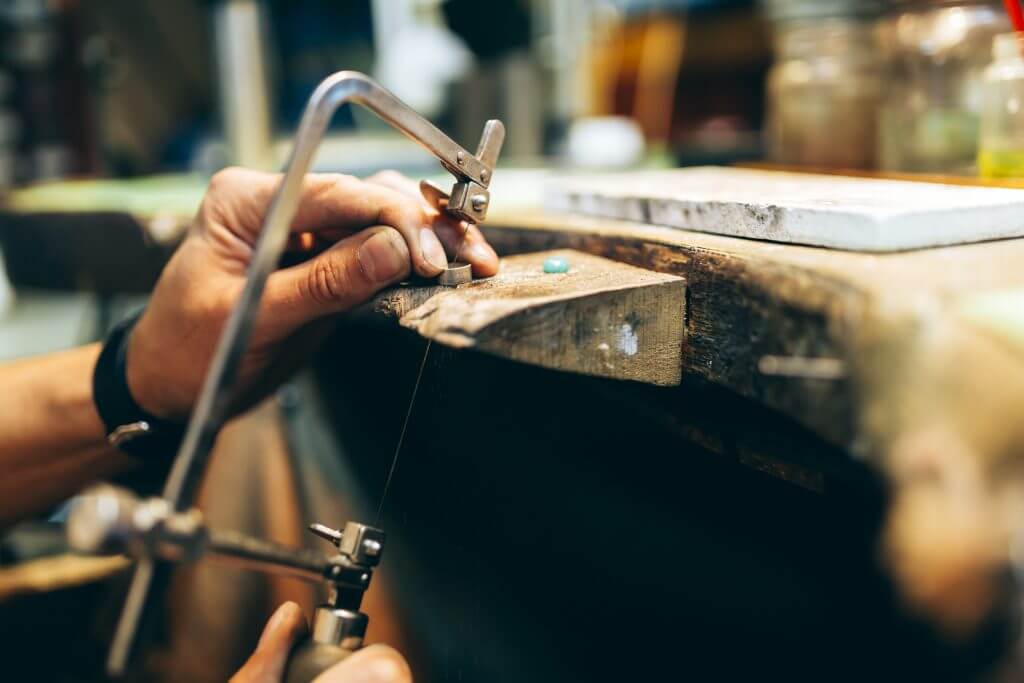
At this stage, you can use a cutting jig to make sure you cut the tube as straight as you possibly can.
Of course, if you don’t have a cutting jig in your tool kit, you can always use your bench peg to stabilize the tube.
And your jeweler’s saw to get the best cut you can, before tidying up with a flat-file so that the end is completely flush.
As you cut, keep the saw straight and perpendicular.
And use a steady back and forth motion to make sure that the line is as straight as possible before moving onto the next stage.
Step #4 Solder the tube onto your design
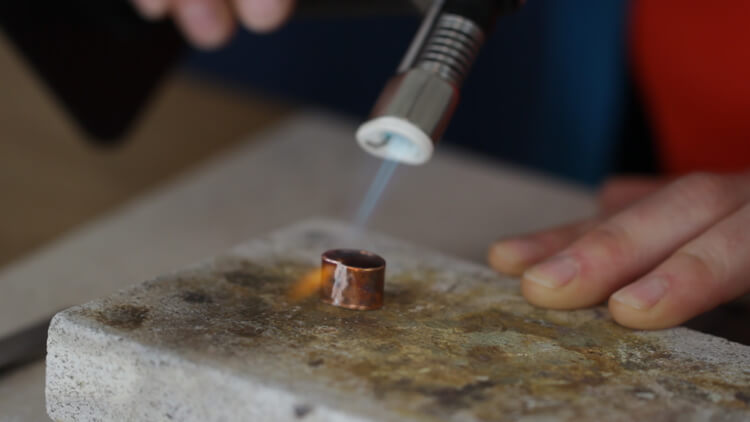
Now you’re ready to solder! Learn more from the 8 Easy Steps of Tube Settings For Stones.
Whatever you’re creating – whether it’s a pendant or a stone set ring – now is the time to bring the two elements together before setting your stone in place.
If you’re adding the tube to a curved surface, you may want to shape the tube with a half-round needle file so that it sits flush with the element that it is being soldered to.
Also, this will aid the soldering process and give you a cleaner, more stable finish.
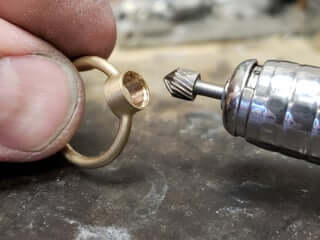
Step #5 Drill the seat into the tubing

Before you start drilling, it’s important to choose the right burr.
Make sure that the burr is the same diameter as the stone you’re setting in place.
Start with a ball burr to get the process moving. Take it slowly to start with as you can overshoot the drilling process – remember, you can always take metal away, but you can’t put it back.
And don’t forget to secure your design to your workbench using a clamp to make sure it does not shift.
If you do not drill directly down and centrally into the tube, your gemstone seat will be off-center, and you will have to start over.
That’s why a drill press machine is ideal for this kind of work – it will keep your burr in position and in a straight downward motion that’s ideal for tube setting gemstones.
However, if a pendant drill is what you have available in your toolkit, practice drilling in a downward, central position before moving onto your finished piece.
This will help you accurately drill into the tube the first time around.
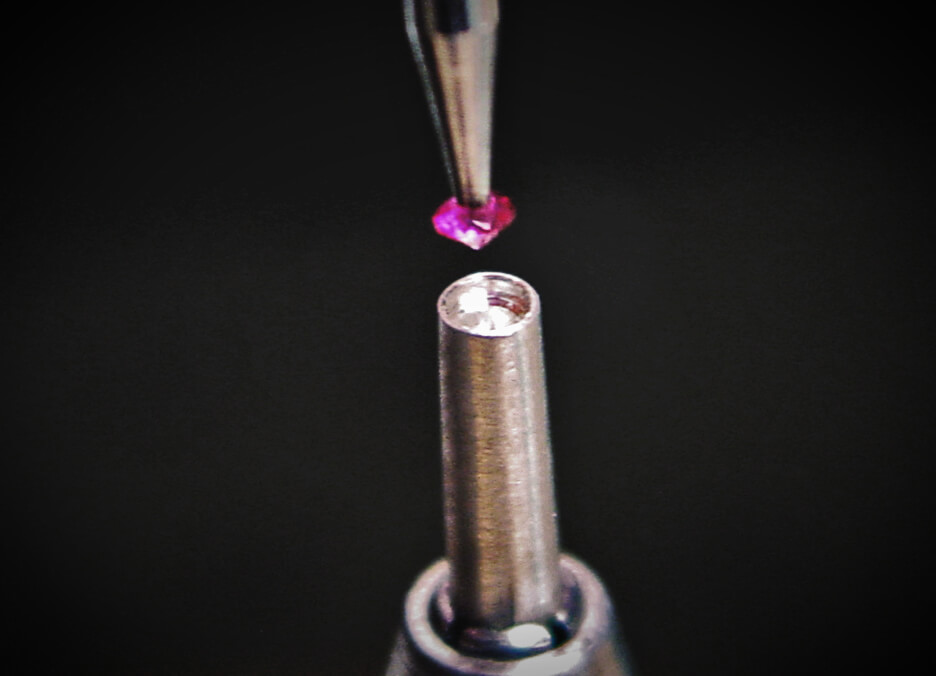
Step #6 Check and drill…Check and drill…
Once you’ve drilled using your round burr, brush away some of the debris and test your stone in the seat.
How far off are you? If you have the correct depth at this point, you should still have just a little of the gemstone poking up out of the tube set.
You can switch to a stone setting burr and continue drilling to create the flat seat for your stone.
Remember to slowly and continuously check the level that your stone is sitting in the tube.
This will also help you determine when the stone is almost flush with the tube and when you can move onto the next step.
Step #7 Set your gemstone in place with a burnishing tool
The girdle of your gemstone should now be sitting just below the top of your tube setting.
This will give you enough room to push the tube’s edges down over the stone to secure it in place.
Some jewelers will use a hammering setting on their pendant drill.
Or they will do this by hand using a bezel setting punch, gently tapping it into place.
Ensure that you keep checking that the stone is sat in the correct position as you work and push the metal into place.
And this will help you to secure the stone and keep your tube setting neat and tidy.
Step #8 Burnish and polish to finish
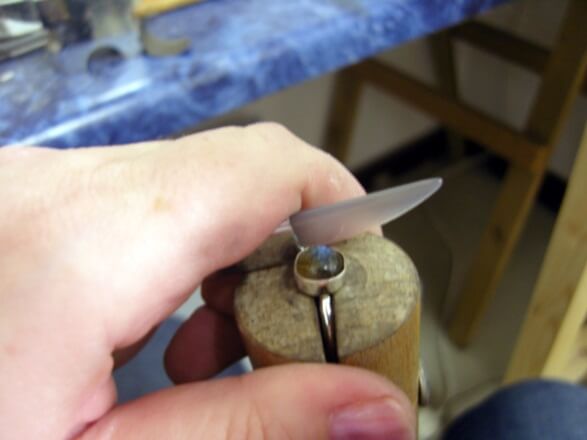
Once you’re happy with the tube set you’ve created, you can polish up your piece and, using a burnisher tool, make sure that the setting is smooth.
Remove any harsh hammer marks with your burnished, and you’re ready for a final polish.
Tube setting gemstones takes you one step further towards more complex stone setting techniques and designs that will allow you to diversify your collections and increase your jewelry making skillset.
Don’t forget to stock up on all the jewelry tools and gemstones you need to perfect your next stone set designs. 8 Easy Steps of Tube Settings For Stones
P.S. Royi Sal Jewelry, as a decades-long leader in silver jewelry design and manufacturing, invites you to download our latest magazine here and profit from the exceptional jewelry designs at affordable prices you will find in the magazine. Click here to download it now.
Share this post


